Lesson 3: Adding and Managing Contacts
/en/microsoftaccount/creating-a-microsoft-account/content/
Introduction
Your Microsoft account makes it easy to save contact information for your friends, family, and colleagues. Once you've added someone as a contact, you'll be able to access that information across all of your Microsoft services.
In this lesson, you'll learn how to add new contacts and import contacts from other accounts, including Facebook and Gmail. You'll also learn how to invite people as Messenger friends, and how to manage and organize your contacts list.
Adding contacts and Messenger friends
Contacts can help you get the most out of your Microsoft account. Once you've added people to your contacts, you can access their contact information from every Microsoft service. You'll use the same contact list to send emails in Outlook and share files in OneDrive. You can also add your contacts to your Messenger friends list, allowing you to chat with your contacts online.
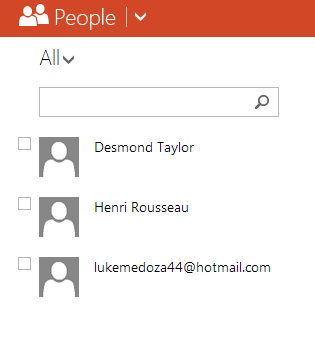
You can access your contacts from the People page. To navigate to the People page, click the drop-down arrow in the toolbar and select People.
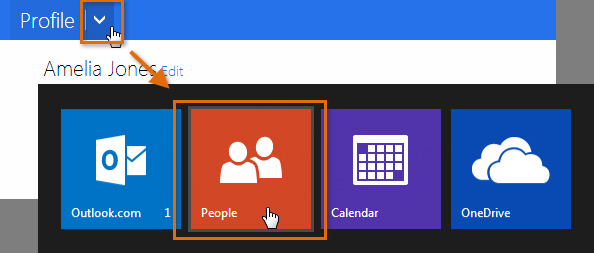 Navigating to your contacts
There are two ways to add contacts:
- Entering information for each of your contacts individually
- Copying, or importing, existing lists of contacts from other accounts, like Gmail, Facebook, Twitter, and LinkedIn (if you already have a lot of contacts saved with another account, this method can save you a lot of time and effort)
To import contacts:
- Navigate to the People page.
- Locate and select the Manage button, then choose Add people from the drop-down menu.
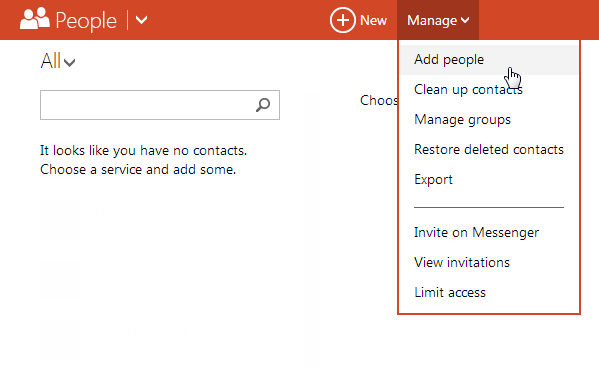 Importing contacts
 - Select the service where your contacts are stored.
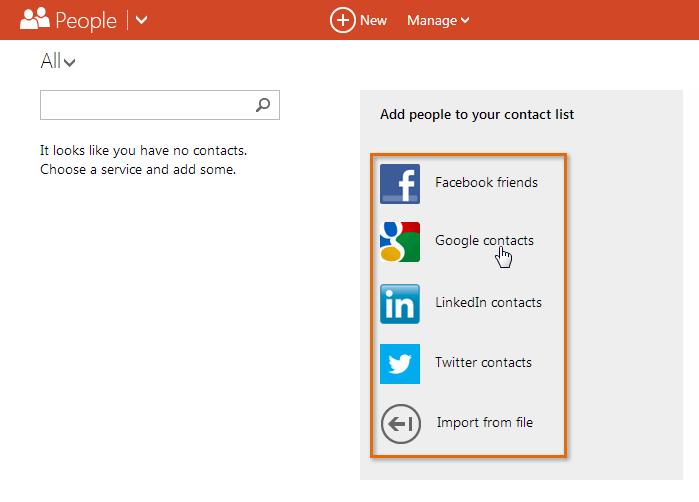 Choosing a service
 - A dialog box will appear with importing options and permissions. This page will vary depending on which service you chose. Follow the instructions to give Microsoft permission to access the contact information from your account.
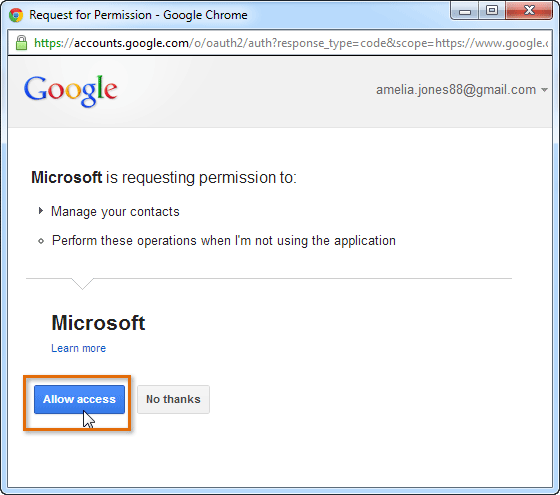 Importing contacts from a Google account
 - Your contacts will be imported.
 Imported contacts
To add a new contact:
- Navigate to the People page.
- Locate and select the New button.
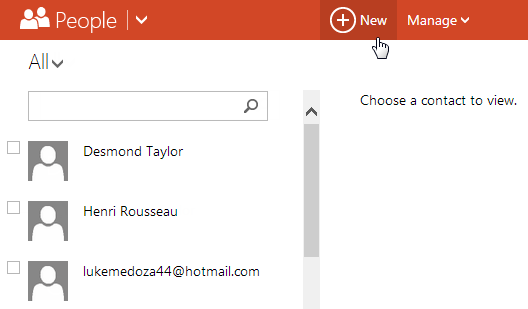 Adding a new contact
 - Enter the contact information. At the very least, you should enter a first and last name, as well as an email address. However, you can also enter other information, like phone numbers, alternate email addresses, date of birth, and work information.
- When you are finished filling out the contact information, click Save.
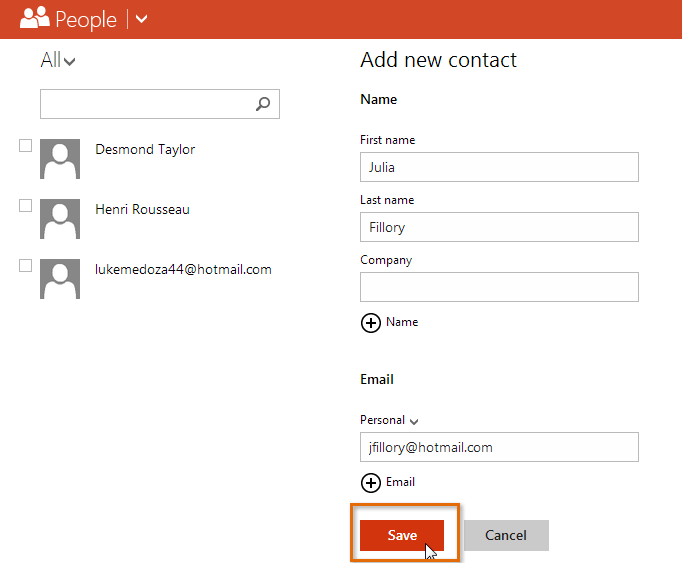 Adding contact information
 - The contact will be added.
To add a Messenger friend:
If you want to be able to use Messenger to chat with your contacts directly from your Microsoft account, you'll first have to add them as Messenger friends.
- Navigate to the People page.
- Locate and select the Manage button, then select Invite on Messenger from the drop-down menu.
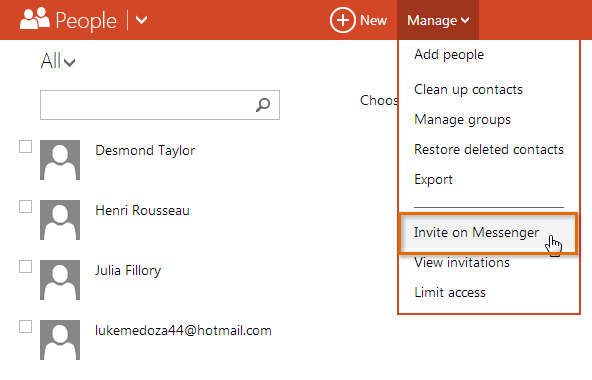 Selecting a contact to add as a friend
 - Enter the email address of the person you wish to add as a Messenger friend, then click Next.
 Adding the contact as a friend
 - A confirmation screen will appear. Click Invite to continue.
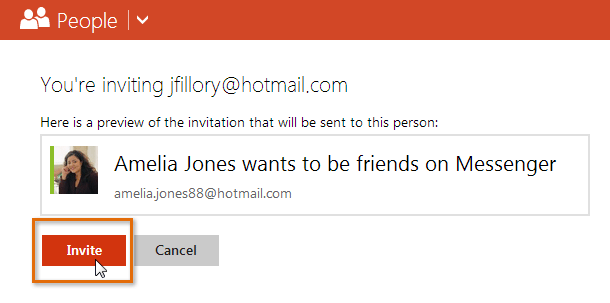 Sending a friend invitation
 - A Messenger friend invitation will be sent. If your contact accepts, you will be added to each other's Messenger chat lists.
If you import contacts from Facebook, they will be added to your Messenger friends list automatically.
Managing your contacts
Once you've added a lot of contacts, your contact list can start to look a little cluttered. Fortunately, Microsoft makes it easy to manage and organize your contacts.
To edit a contact's information:
- Navigate to the People page.
- Select the contact you wish to edit in the All Contacts List on the left side of the screen. If necessary, use the search bar to find the desired contact.
- Locate and select the Edit button.
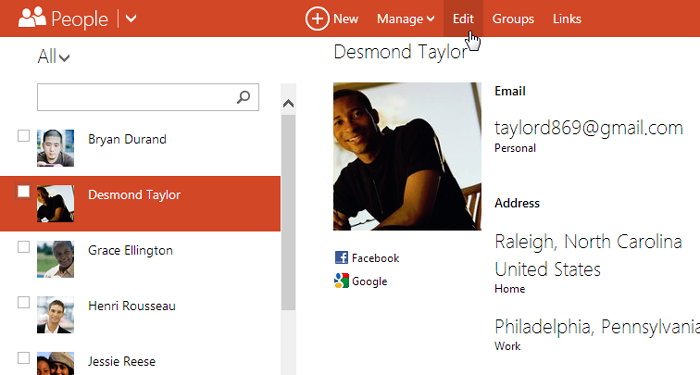 Selecting a contact to edit
 - Modify the contact information as desired, then click Save. The contact will be edited.
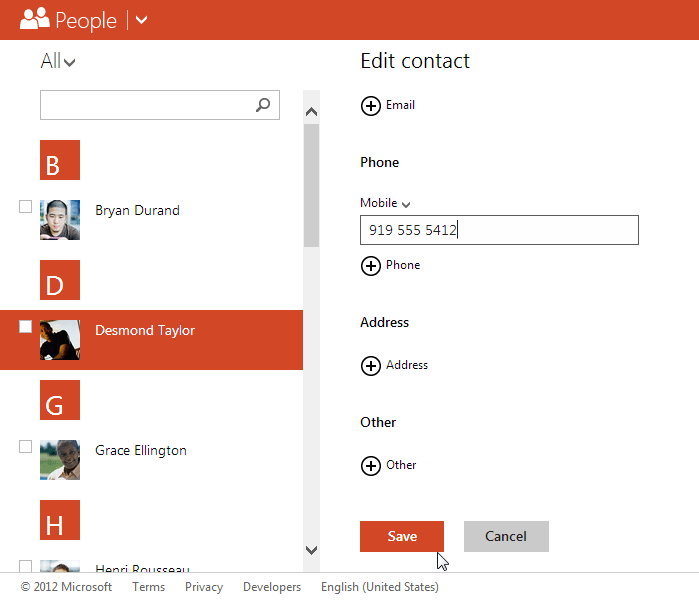 Modifying the contact information
To sort contacts into groups:
If you have a lot of contacts, you may find it helpful to sort your contacts into groups.
- Navigate to the People page.
- Select the contacts you wish to place into a group, then locate and select the Groups button.
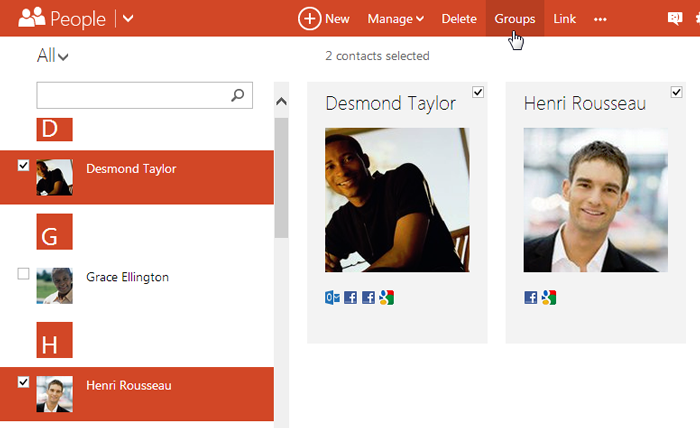 Adding contacts to a group
 - The Groups dialog box will appear. You can choose to either:
- Sort your contacts into an existing group
- Create a new group for your contacts (we'll chose this option in our example)
- Click New group.
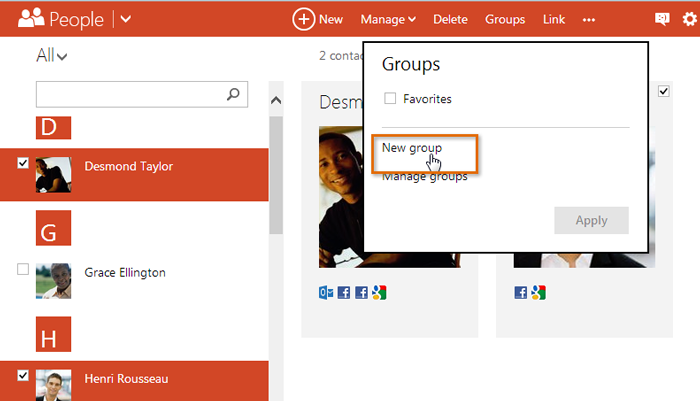 Creating a new category
 - Enter the name of the new group, then click Apply.
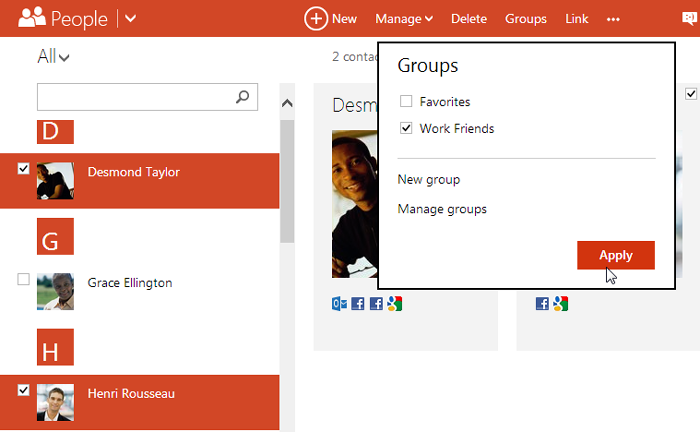 Adding contacts to the new category
 - The group will be created.
- To view only the contacts in that group, click the drop-down arrow next to All, then select the group from the drop-down menu.
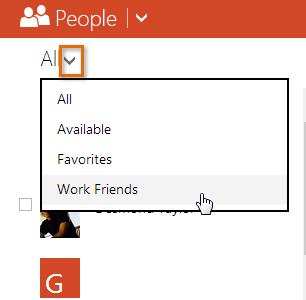 Selecting new group
To create a group without contacts, remove a contact from a group, or delete a group completely, locate and select the Manage button, then click Manage groups.
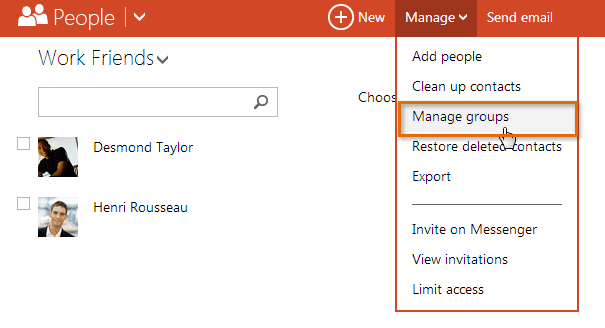 Managing groups
/en/microsoftaccount/privacy-and-security-settings/content/


