Photoshop Basics -
Levels, Curves, and Color

Photoshop Basics
Levels, Curves, and Color


search
menu
/en/photoshopbasics/understanding-layers/content/
Images that come straight from a digital camera aren't always perfect. As you start to gain more experience with Photoshop, you may notice some recurring problems with images that you'll want to fix. For example, some images may be too bright, while others may be too dull. There are various corrections that can make your images look dramatically better. Some of the corrections we'll cover in this lesson include:
If you're new to image editing, you may want to review our lesson on fixing common problems from our Image Editing 101 tutorial to learn more about the fundamentals of making these changes.
If you'd like to follow along, you can download some or all of our example images. Just click any of the images below to open a full-sized version, then right-click the full-sized version and select Save Image As to save it to your computer.
We'll be using adjustment layers throughout this lesson to correct images. As we discussed in the previous lesson, adjustment layers are a type of nondestructive editing because they don't actually change anything about the original image. And because you can continue to tweak adjustment layers as you work, it's easy to try out different effects and get the image to look exactly the way you want.
Every image has a mix of shadows, highlights, and midtones. Shadows are the darkest parts of the image, highlights are the brightest parts, and midtones are everything in between. When you adjust levels, you're adjusting these different tones. And while you could use the brightness and contrast tools for a similar type of adjustment, they're much less powerful than levels.
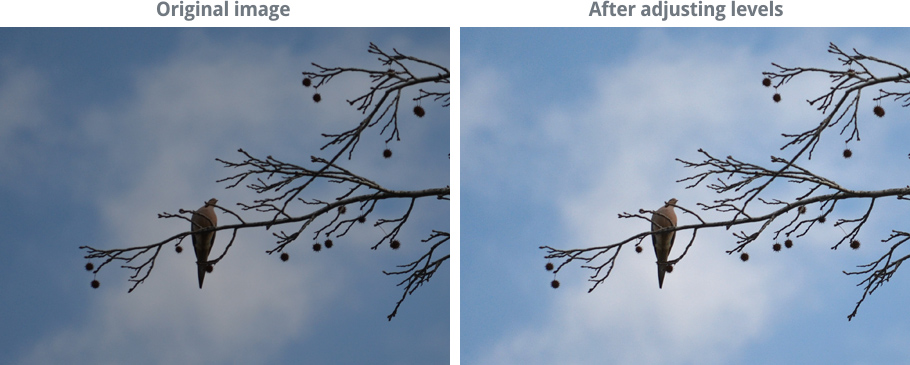
There are many reasons to use a levels adjustment. For instance, if you have a particularly dark—or underexposed—image, you might want to make the midtones and highlights brighter while keeping the shadows relatively dark. You can see an example of this in the images below.
If you've never adjusted levels before, this tool may feel a little unintuitive at first. At this stage, the most important thing is to practice making different adjustments. As you start to gain more experience, you'll be able to use it more effectively. And remember, if an adjustment doesn't look right, you can always undo your changes and start over.
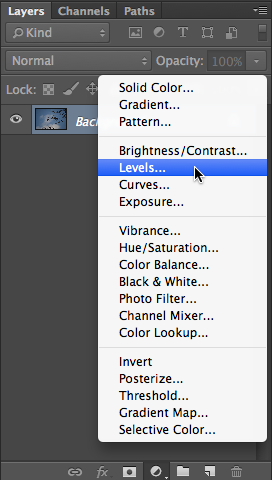
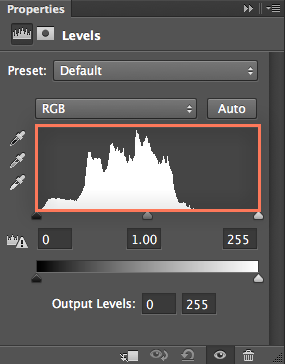

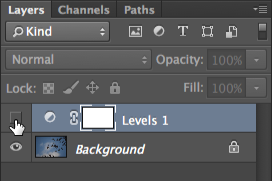
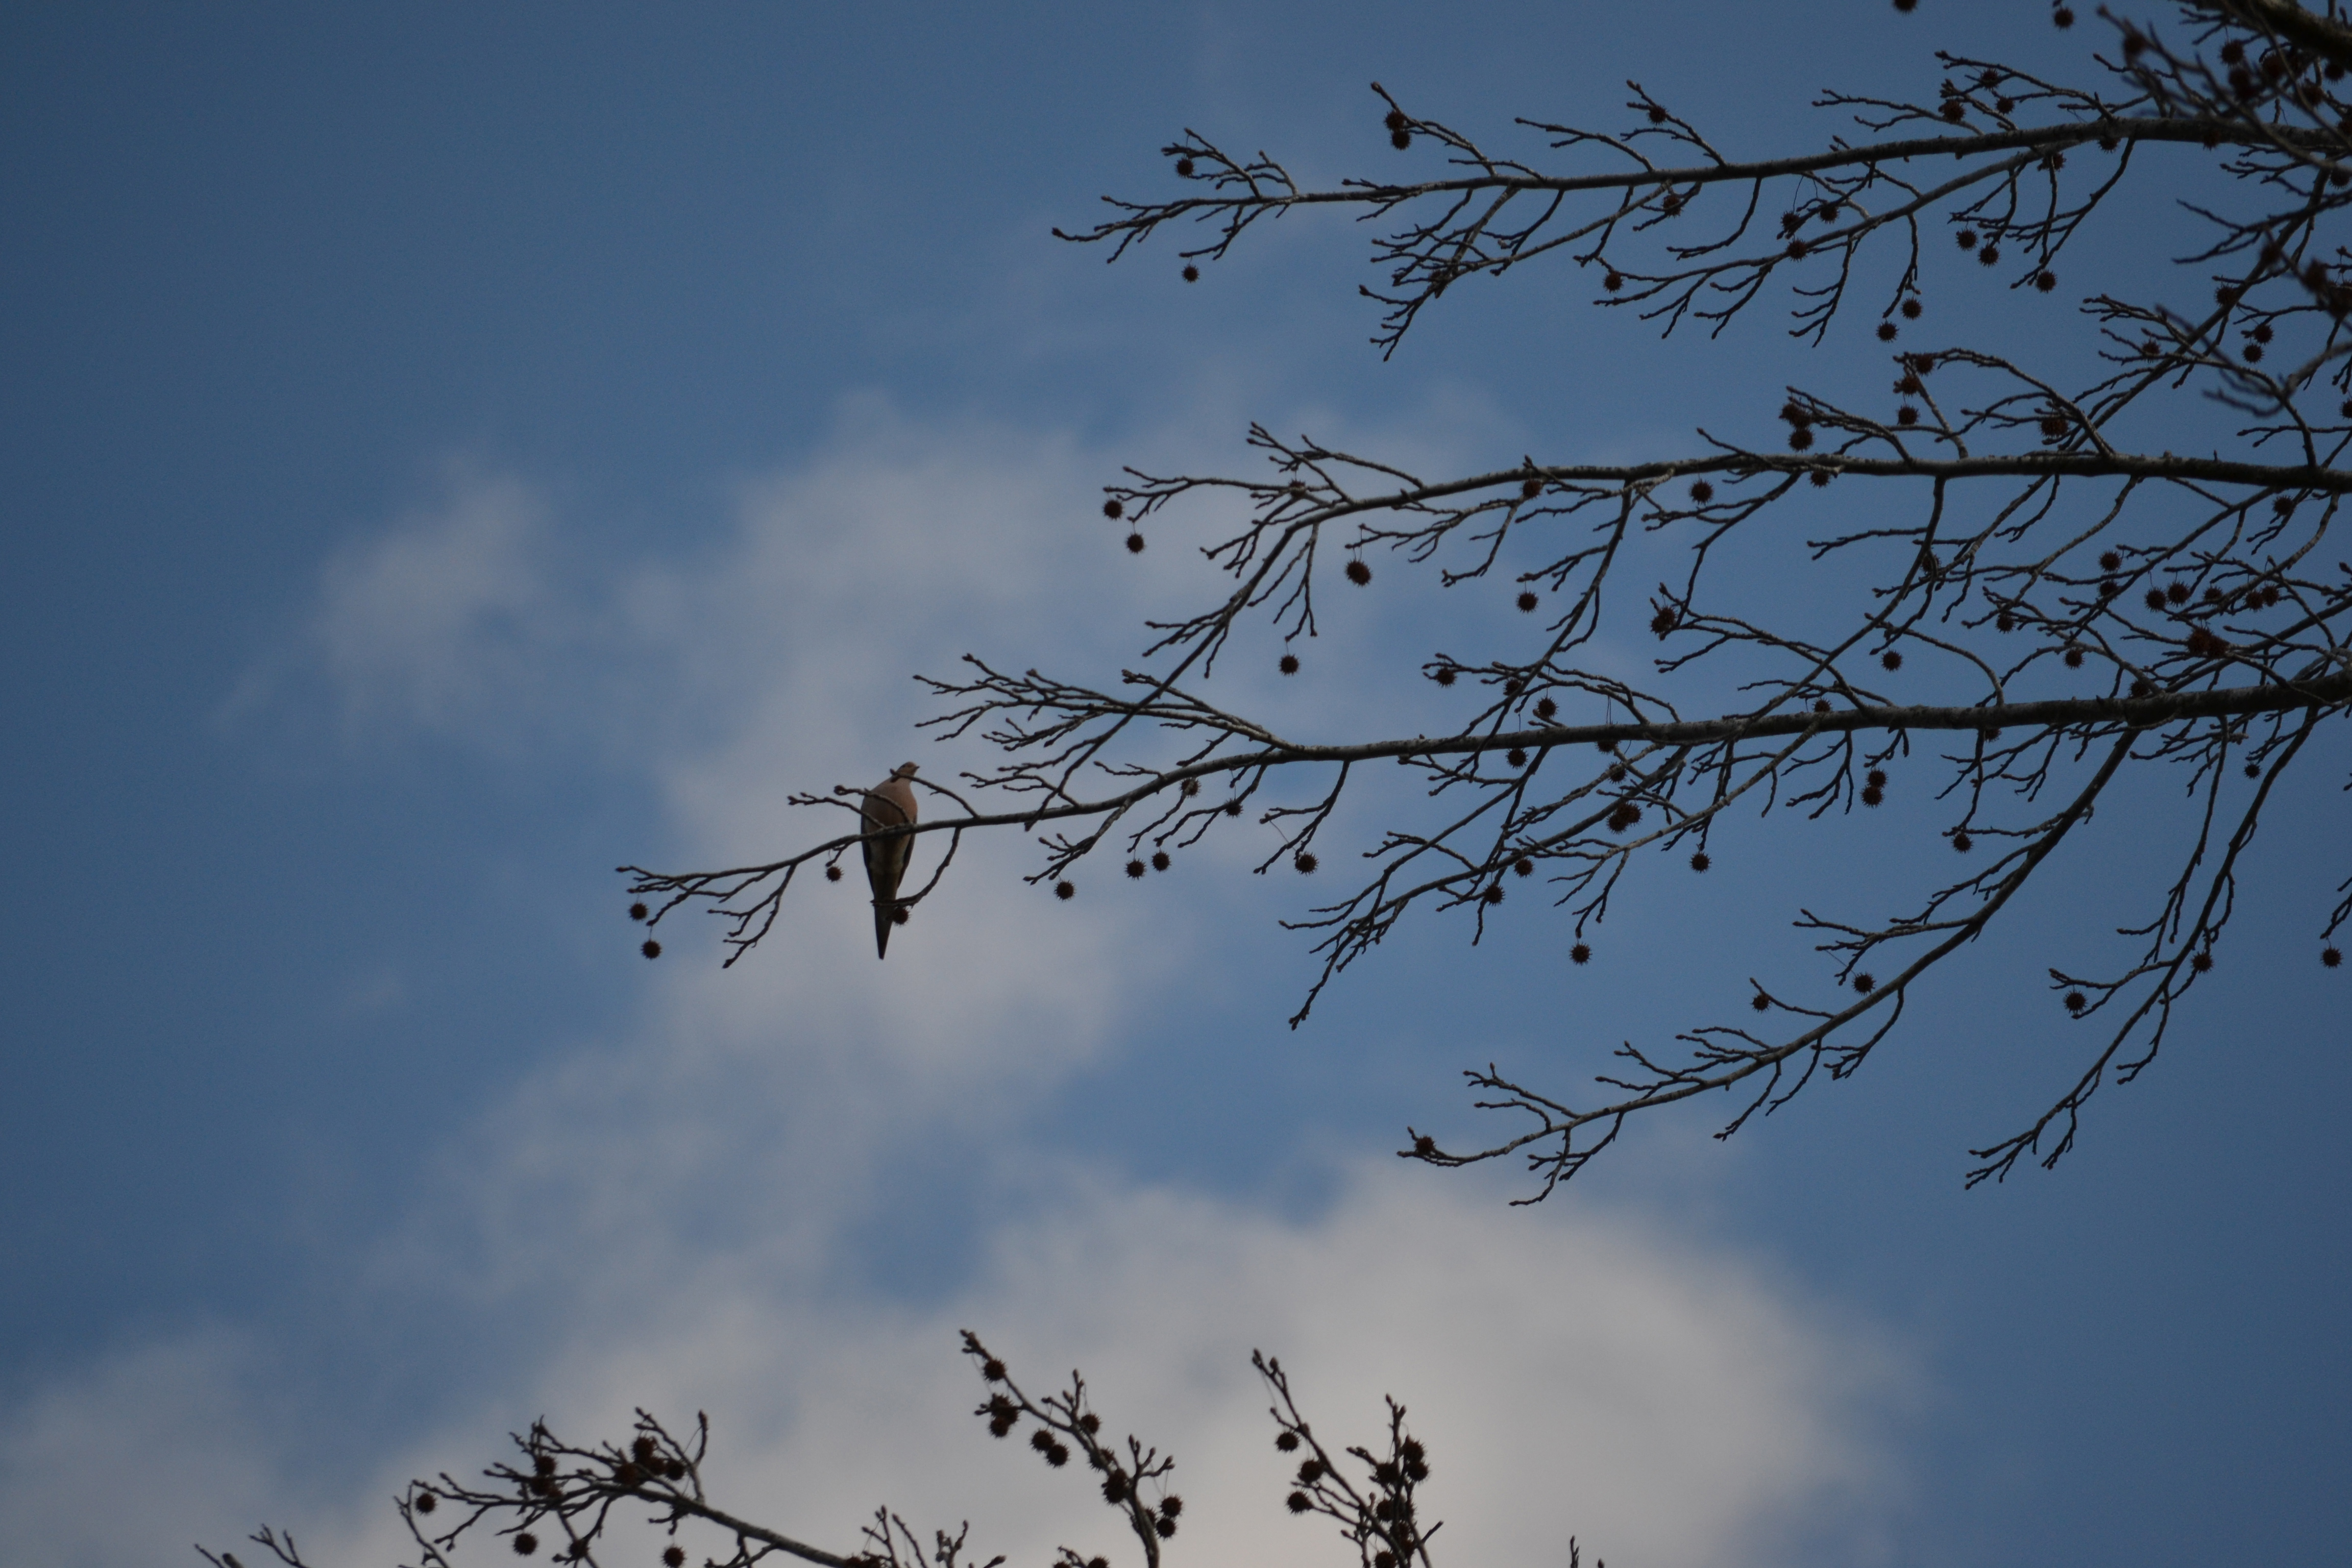
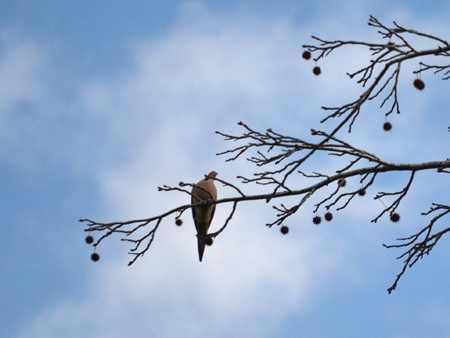
Open the dove_fullsize.jpg example file and add a Levels adjustment layer. Click and drag each of the Input Levels sliders in the Properties panel to see the effect. Try to find the settings that look best for this image.
Review our lesson on reading a histogram to learn more about what it can tell you about an image.
Here are a few tips for getting the best results with levels:
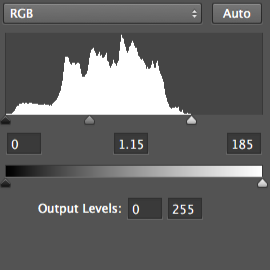
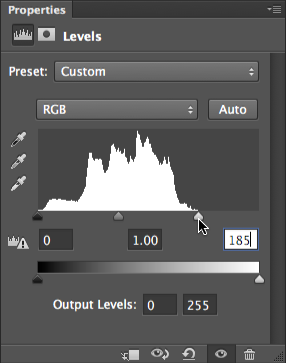
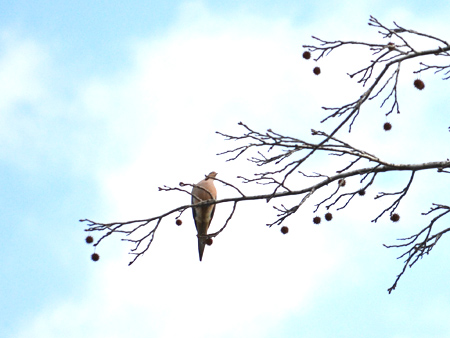
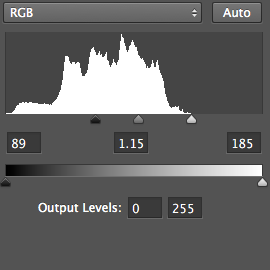
If you move the white slider too far to the left, you'll begin to lose detail in your image. This is known as clipping. In the image below, you can see that the clouds have lost a lot of detail, and the color of the sky has also changed. Both of these problems are caused by clipping.
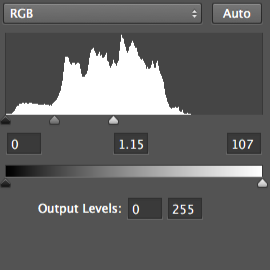
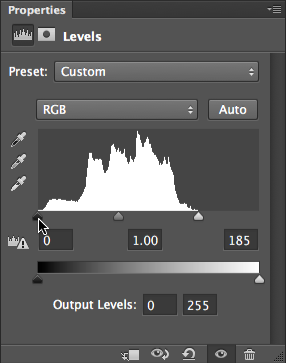
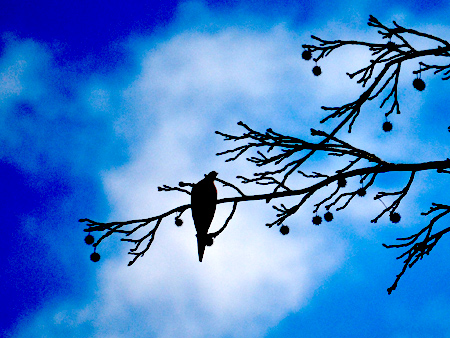
If you move the black slider too far to the right, you'll start to see clipping in the image's shadows. In this example, the bird and branches have lost almost all of their detail. The color of the sky has also changed to a darker blue:
Remember, because you're using adjustment layers none of these changes are permanent until you export your image. So if you see any clipping in your image, don't panic! Simply look at your adjustment layers to find the source of the clipping, then readjust the levels as needed.
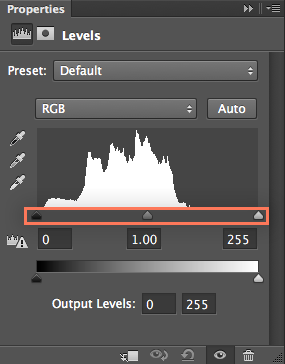
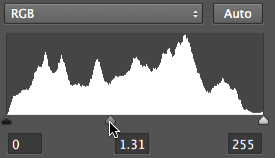
Note that the histogram will be unique for every image. If an image has the proper exposure, the histogram will be complete, with no data missing. Moving the black and white sliders in this situation would cause clipping. Instead, you can use the middle (gray) slider to increase or decrease the overall brightness.
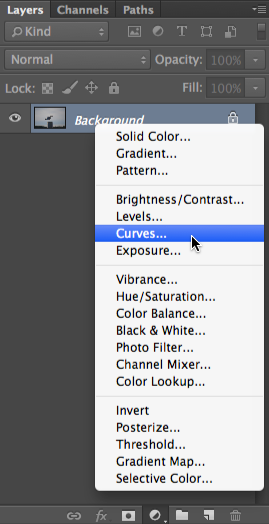
The Curves tool is similar to levels, but it gives you more power to control shadows, highlights, and midtones separately. Because it's a more advanced tool, you'll need to be careful when using it to adjust your images.
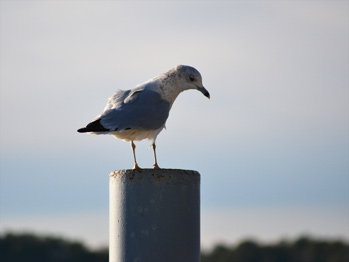
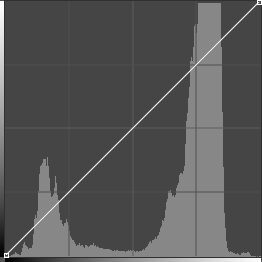
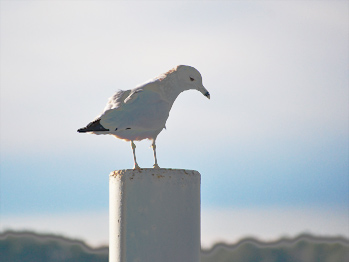
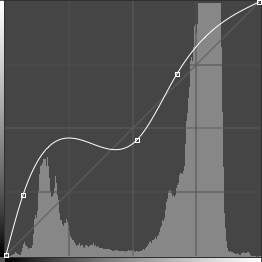
In the example below, you can see an image before adjusting curves. To the right, you can see the curve as it appears by default. Notice how the diagonal line is perfectly straight. When you make adjustments with curves, you're creating different curves with this line.
One of the simplest adjustments you can make with curves is to increase the contrast. To do this, drag the curve down in the shadows on the left to make them darker and up in the highlights on the right to make them brighter.
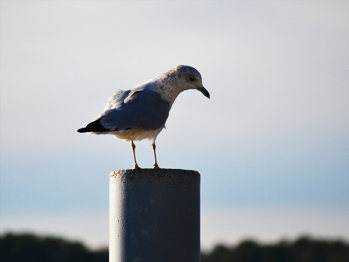

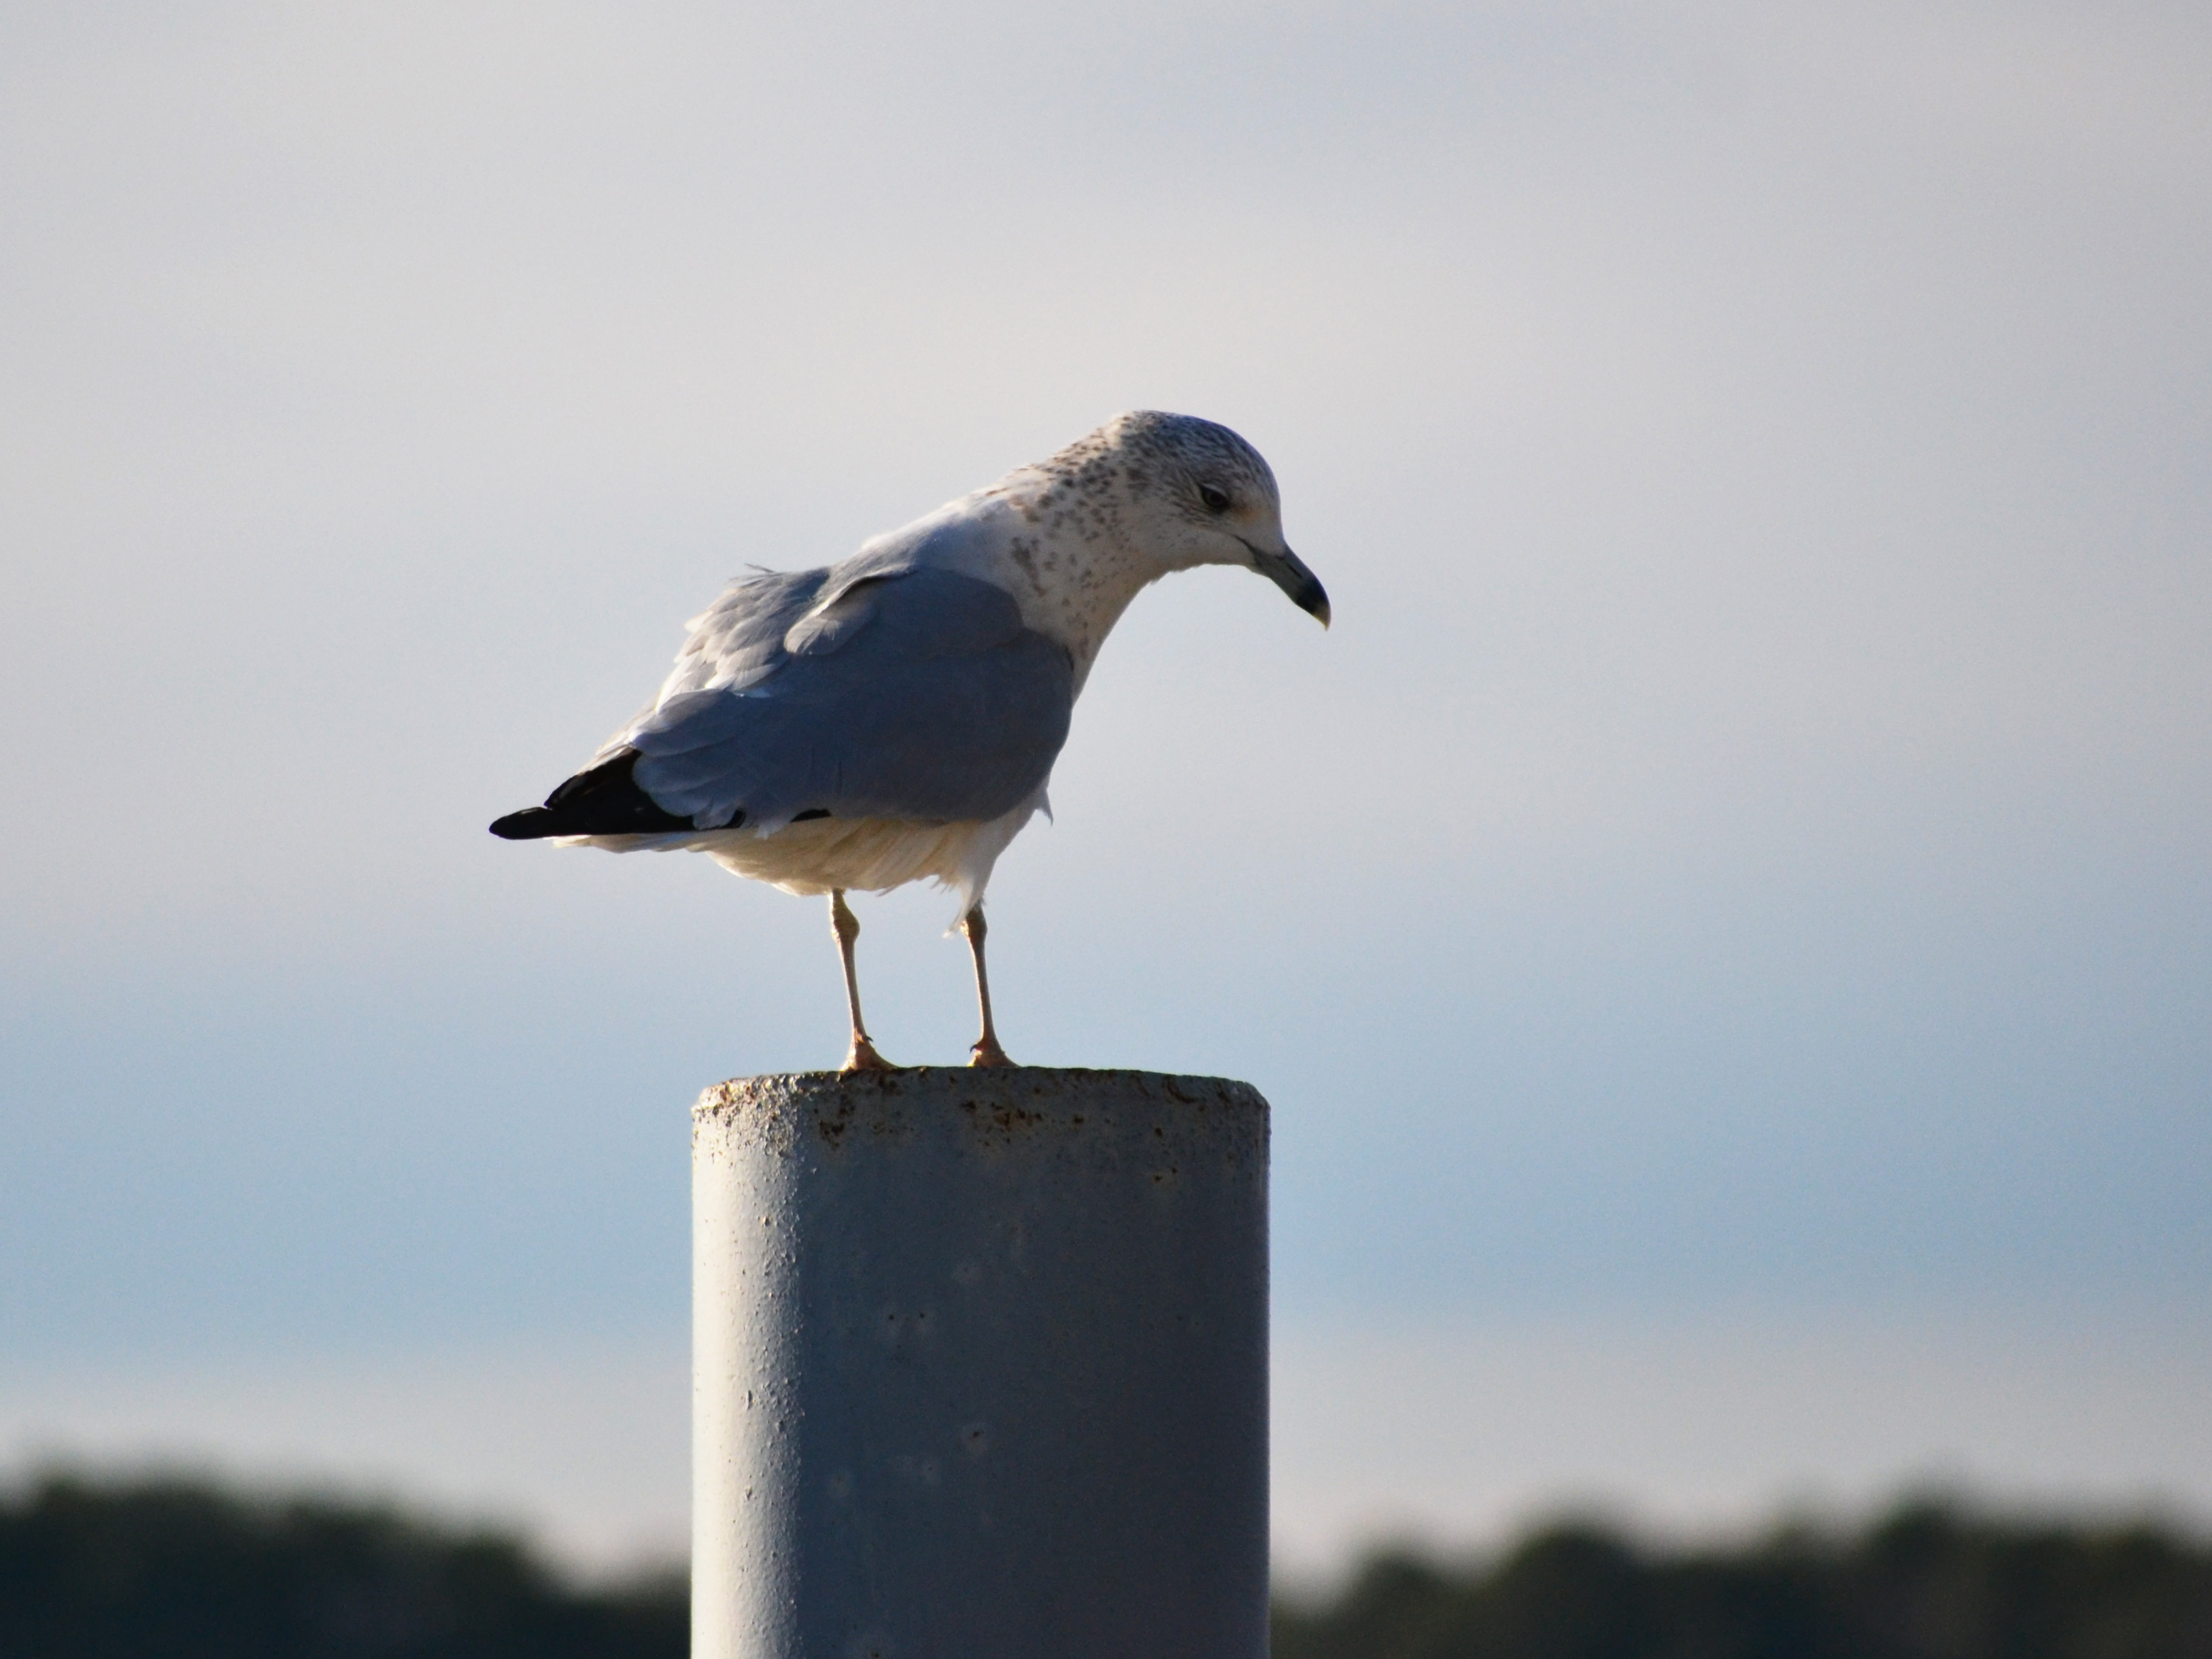
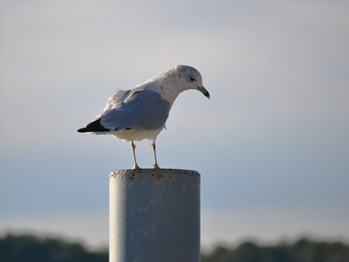
In this particular image, it might be better to decrease the contrast. To do this, drag the curve up in the shadows on the left to make them brighter and down in the highlights on the right to make them darker. In the image below, you can see that this makes it easier to see details on the seagull's face.

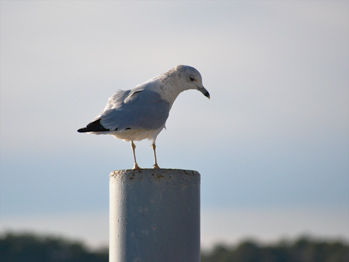
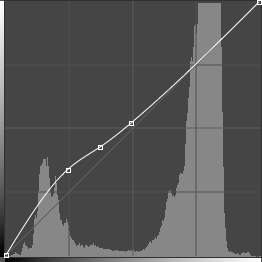
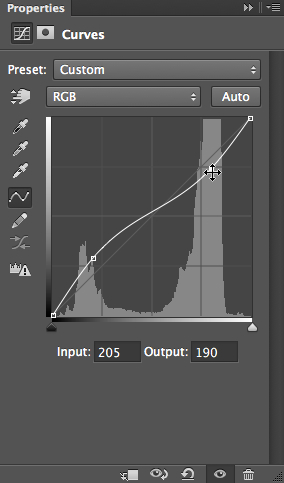
You could also increase the shadows without changing the highlights. To do this, drag the curve up in the shadows on the left. Notice how we used multiple points to gently bring the curve back to the default position. This helps to prevent the curve from affecting the highlights or midtones. This allows us to make the seagull brighter without darkening or lightening the clouds.
Try to avoid using big, steep curves. Whenever the curve moves too far away from the diagonal line, it can create problems with the image. In the example below, notice how the curve dramatically changes direction near the middle. This causes a significant loss of detail in the midtones, giving the seagull a flat, unnatural look.
If you're new to curves, you may want to select one of the Preset options and make small adjustments to the curve as needed. If you need to start over, you can select Default from the Preset menu.
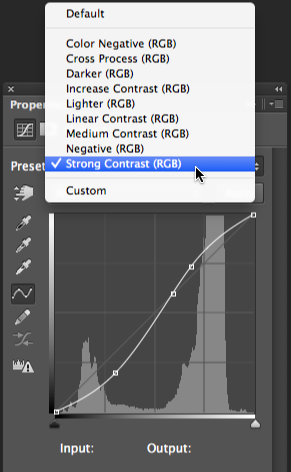
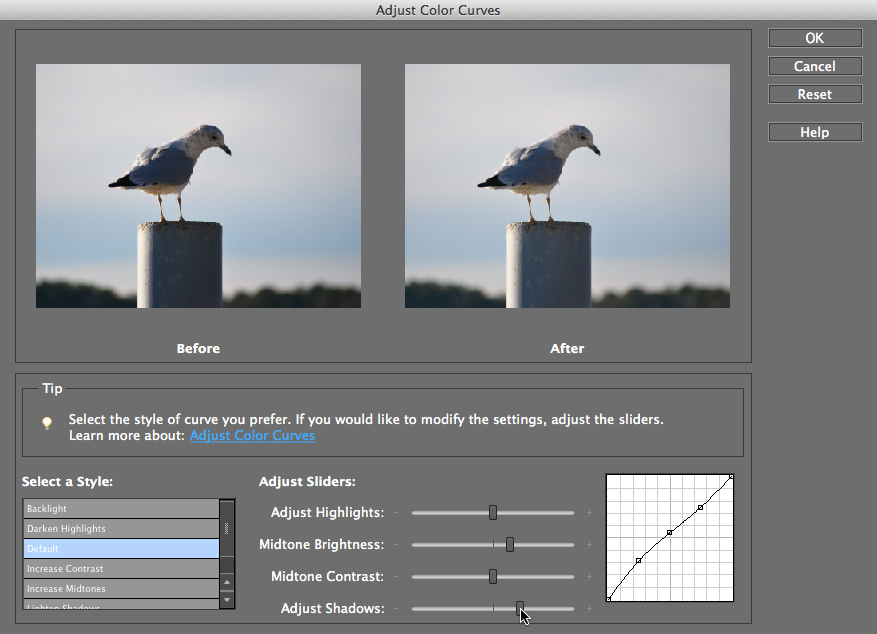
If you're using Photoshop Elements, you won't be able to create a Curves adjustment layer, but there is a similar tool you can use. To access this tool, select Enhance > Adjust Color > Adjust Color Curves. You can then click and drag the sliders to adjust the curve.
Open the seagull_fullsize.jpg example file and add a Curves adjustment layer. Try using some of the different options from the Preset menu, then move points on the curve to see the effect.
There will be times when you'll want to adjust the colors in an image. For example, you may want to modify the color intensity or even change colors for artistic effect.
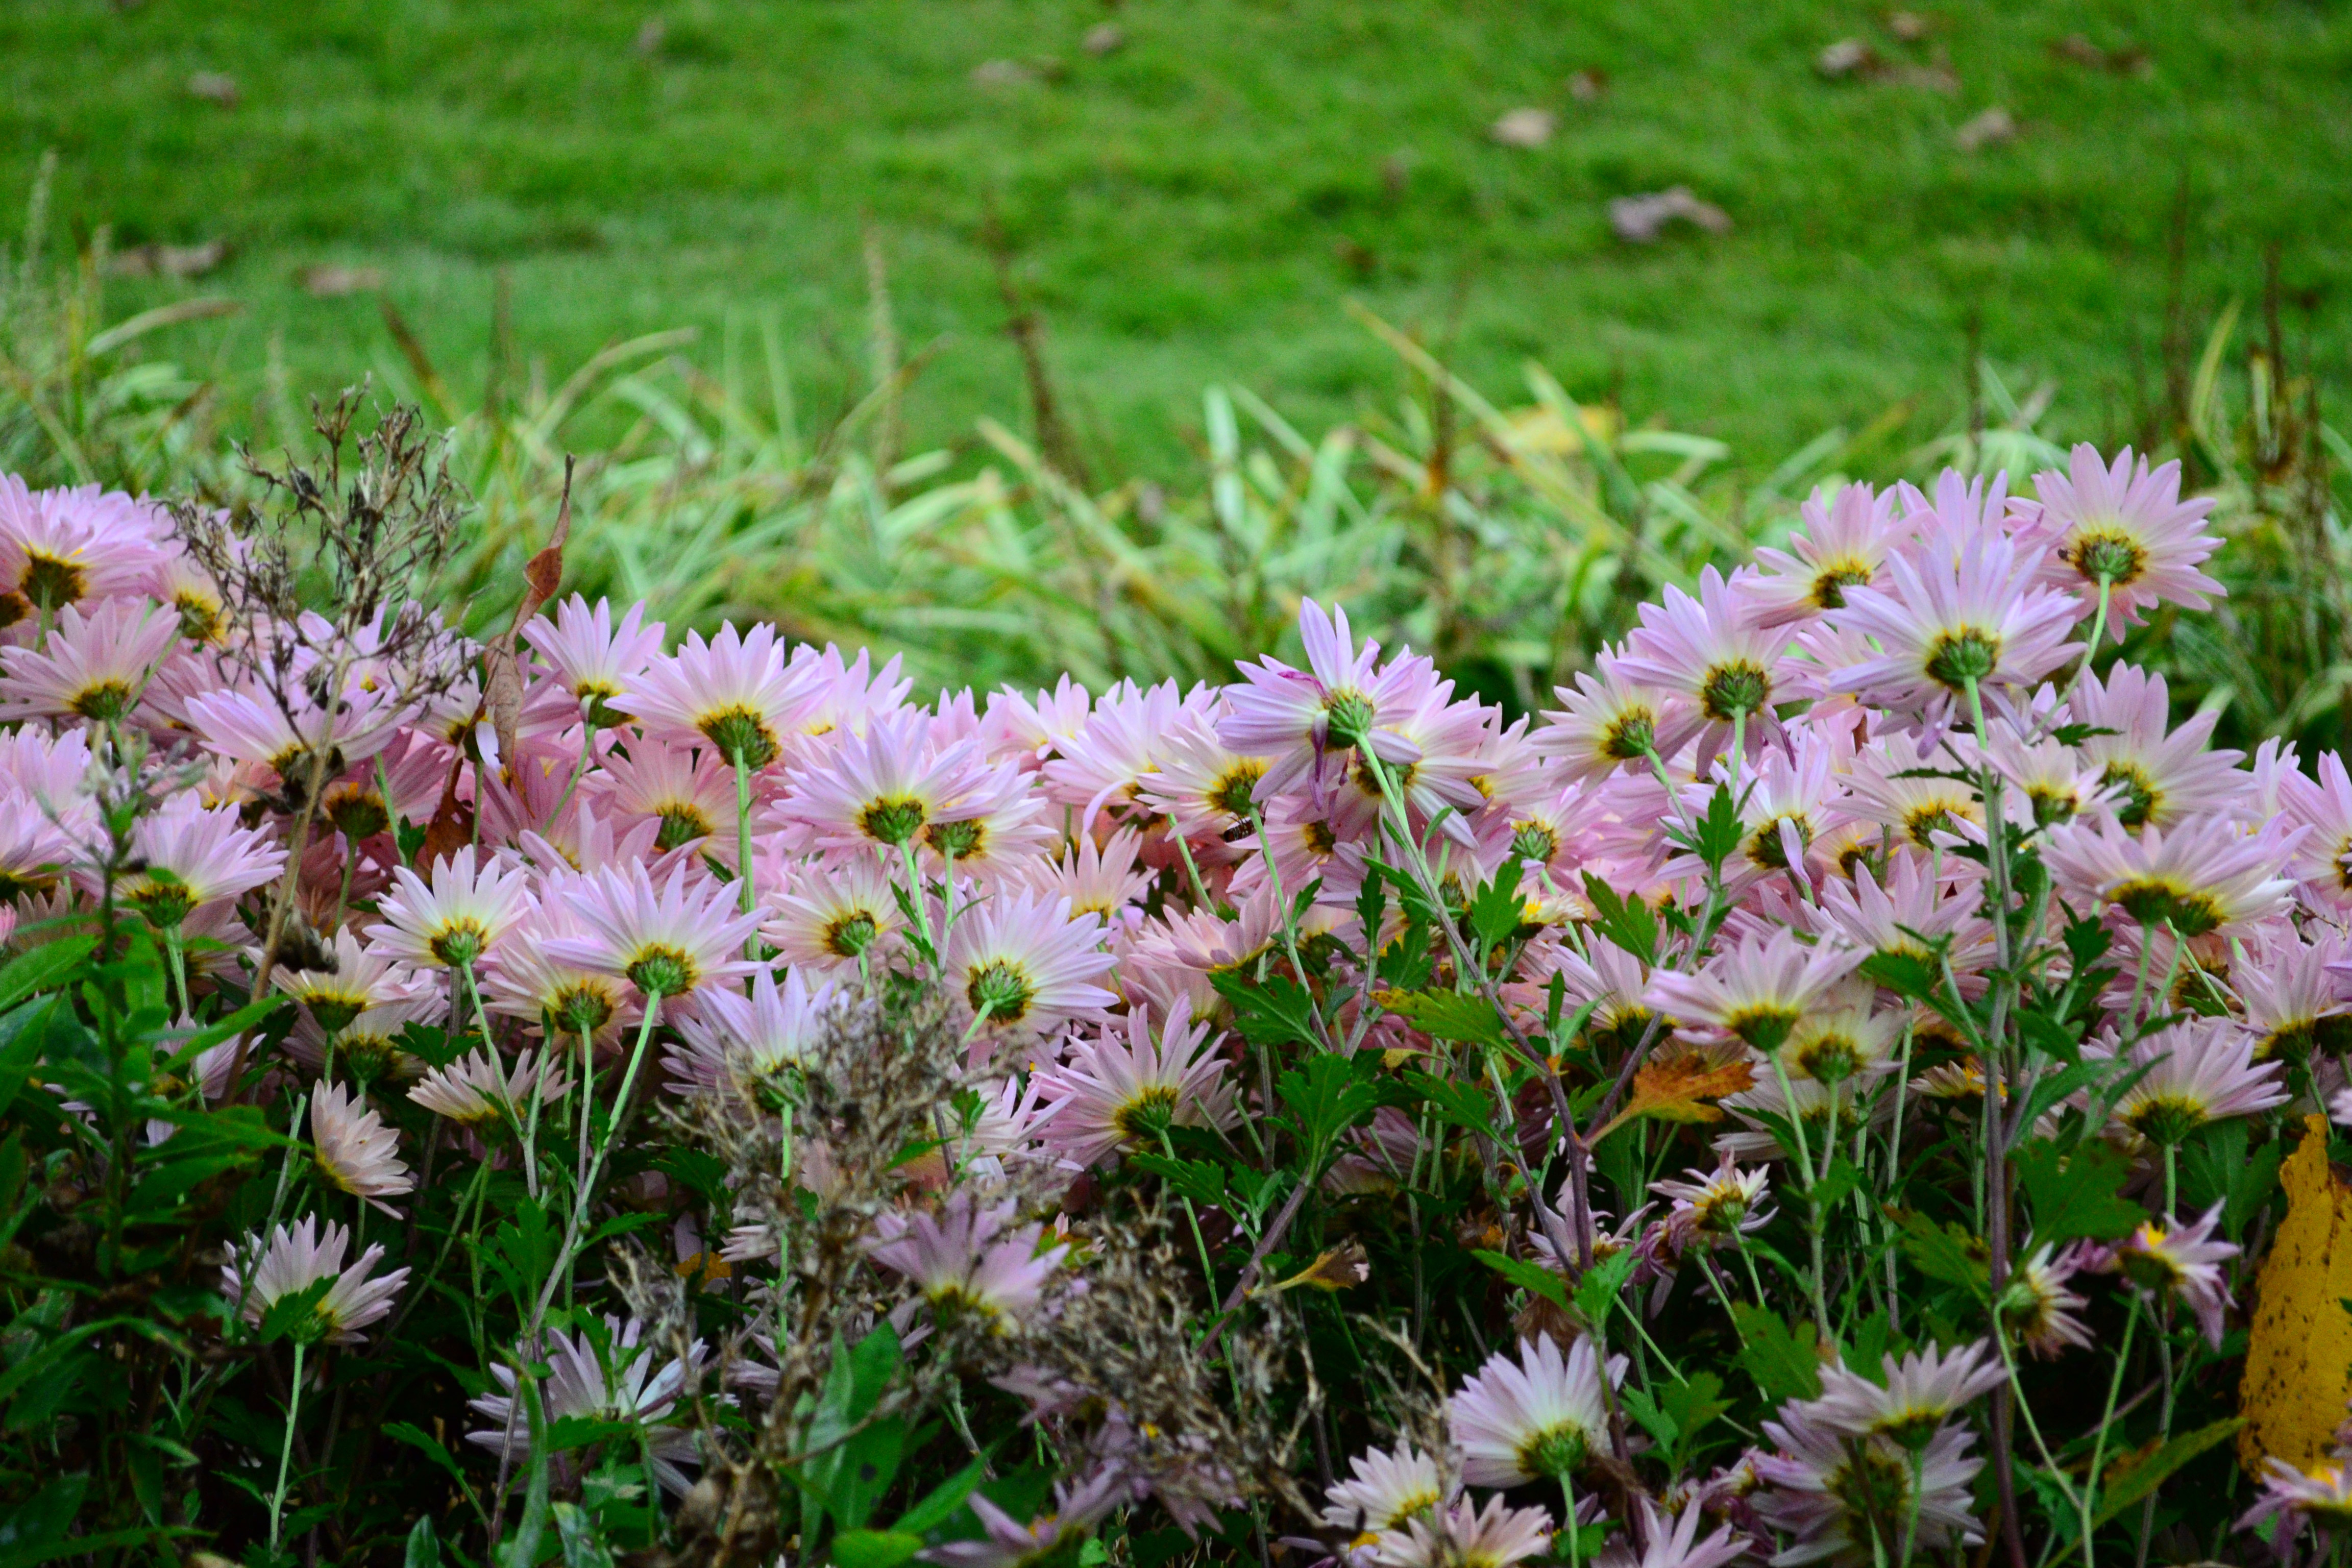
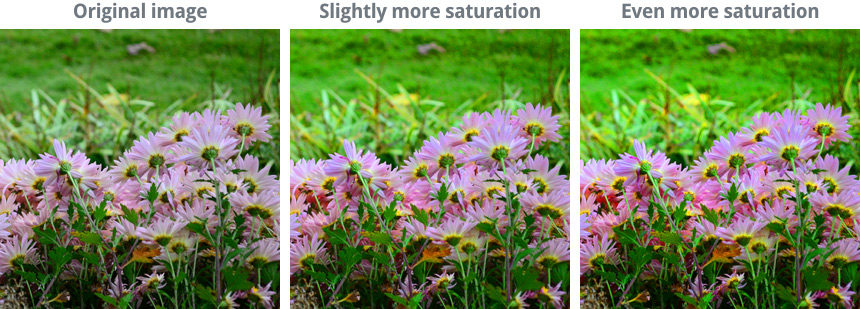
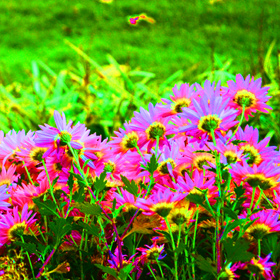
If the colors in your image are dull or muted, you can increase the saturation to make them look more vivid. You can see an example of this in the images below.
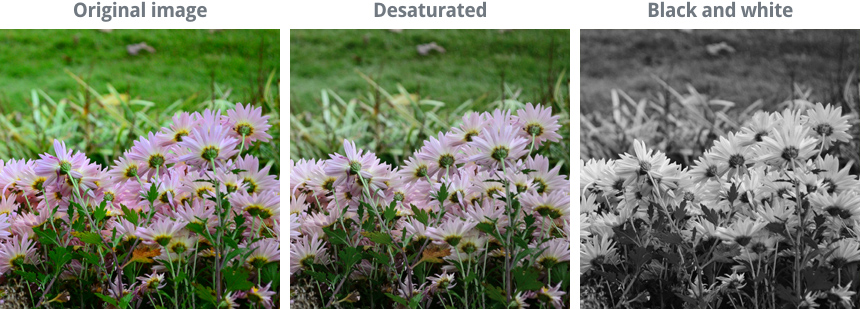
On the other hand, you can reduce the saturation to make the colors less vivid. If you remove the saturation completely, it will produce a black-and-white, or grayscale, image. You can see an example of this in the images below.
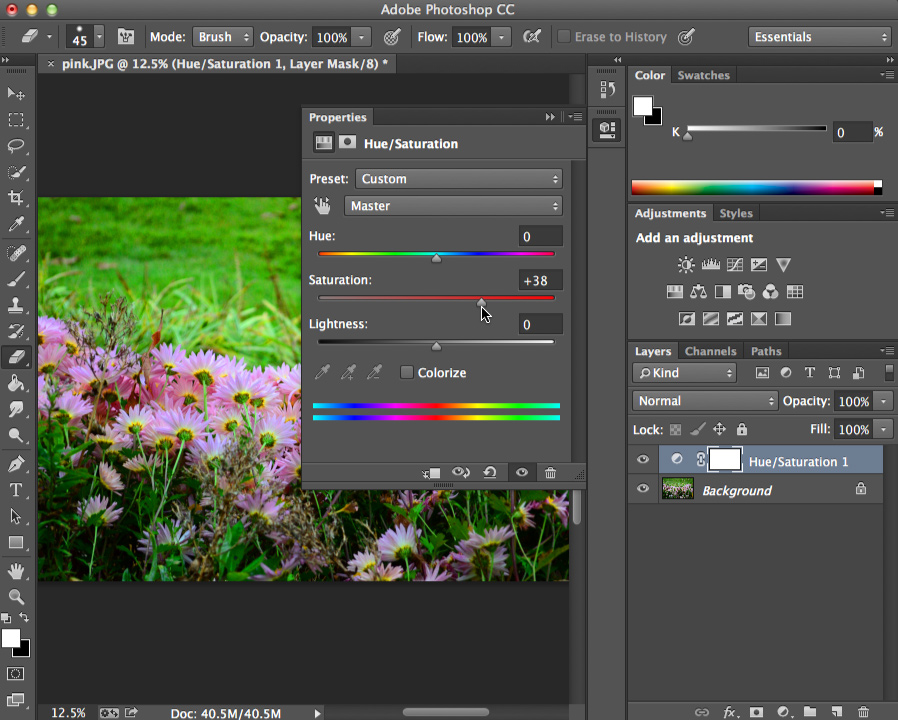
To adjust saturation, add a Hue/Saturation adjustment layer. Then click and drag the Saturation slider in the Properties panel to increase or decrease the saturation.
Drag the slider in the interactive below to adjust the saturation of the image. Careful, though! Too much saturation will cause the image to lose detail.
For best results, we recommend using the Chrome web browser with these interactives.
Here are a few recommendations for getting the best results with saturation adjustments:
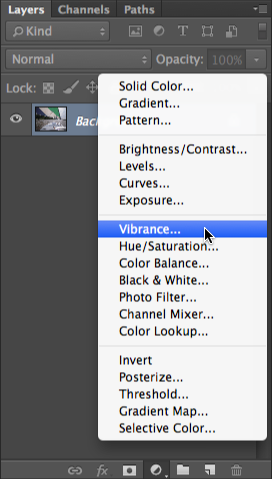
Increasing the saturation can sometimes look a bit unnatural. One solution is to use a Vibrance adjustment layer instead of Hue/Saturation. Vibrance lets you boost the saturation for the parts of the image that are less colorful without oversaturating the parts that are already colorful.
Open pink_fullsize.jpg, then add a Hue/Saturation adjustment layer. Take the saturation to the highest and lowest settings to see the effect. Try to find the setting that looks best for the image.
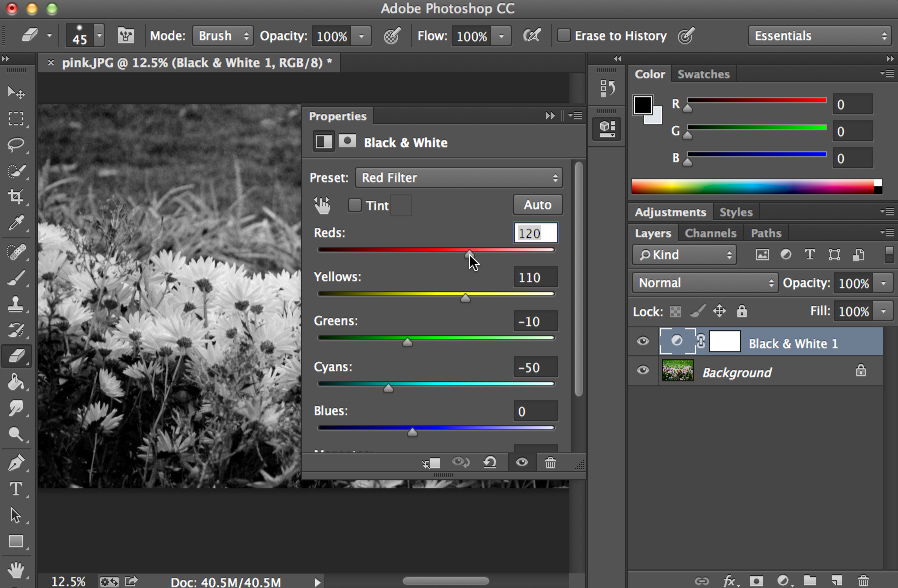
As we mentioned above, removing the saturation completely by setting it to -100 will create a black-and-white image. However, this method doesn't give you much control over how the black-and-white version will look. For better results, you can create a Black and White adjustment layer.
Because black-and-white photos don't have colors, the tones (the different shades of gray) are especially important. A Black and White adjustment layer allows you to control how the different colors are mixed to create specific tones, which can make a significant difference in how the final image looks.
We recommend trying different options from the Preset menu until you find one that works well for the image. You can then make small adjustments to the individual colors as needed.
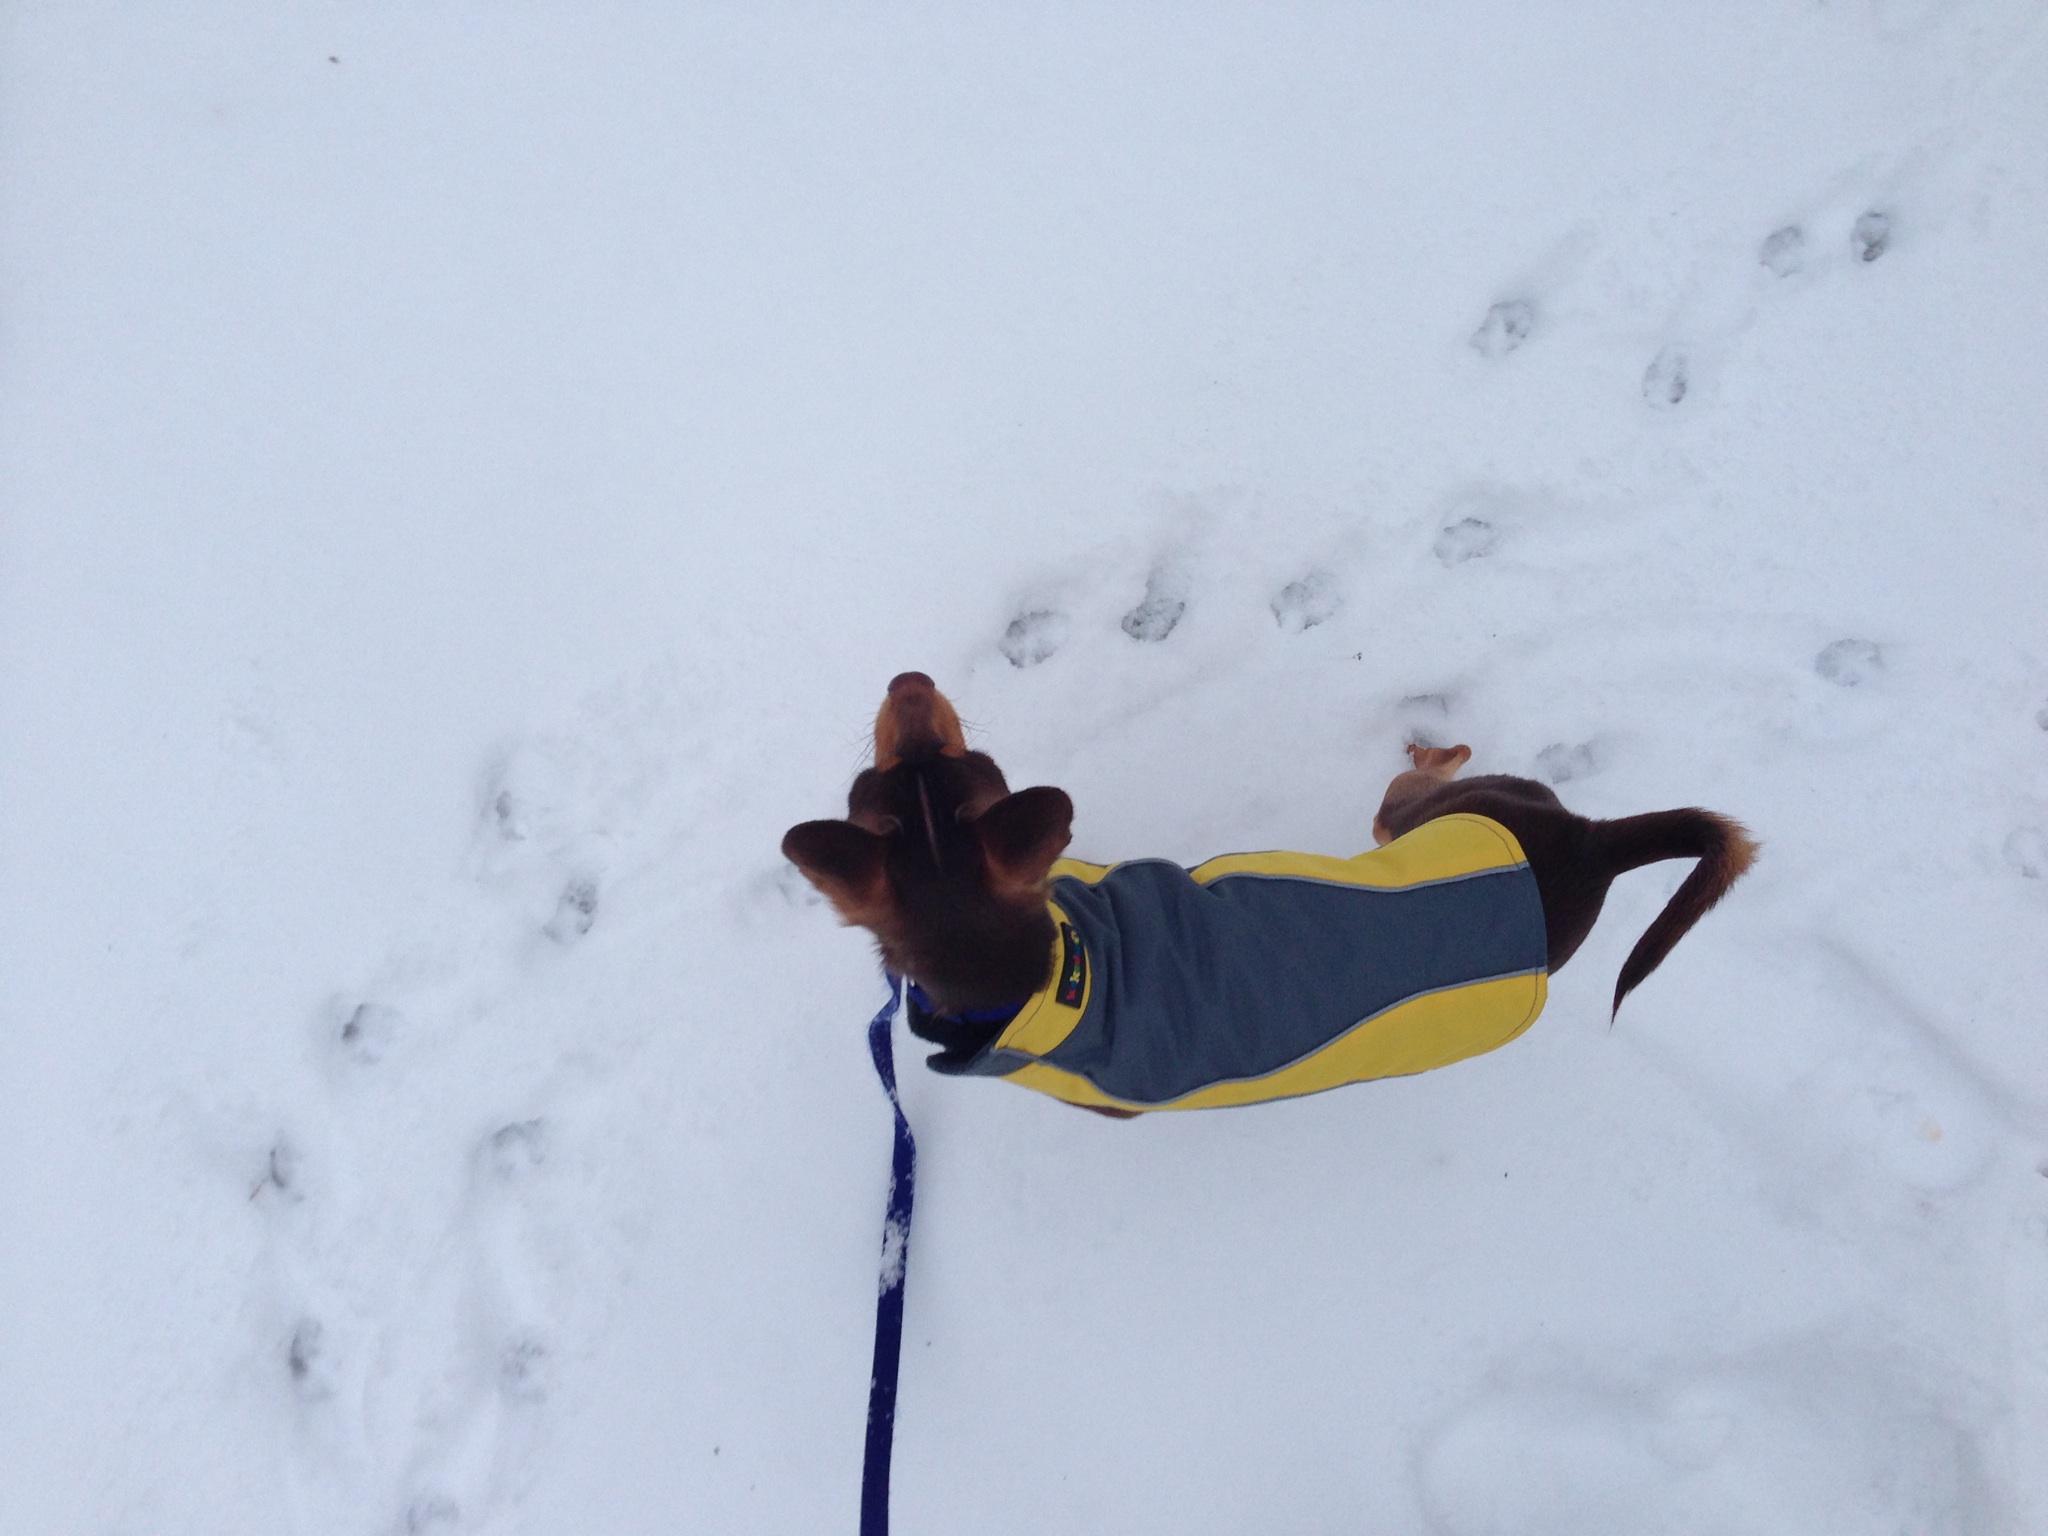
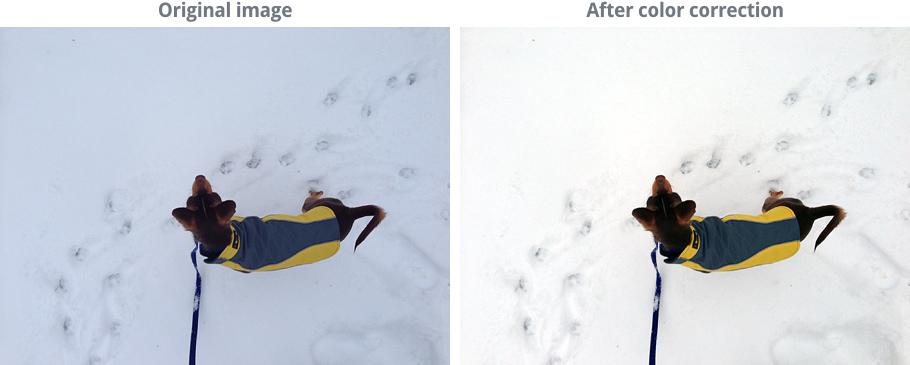
Some images may require more specialized corrections, which can be difficult to make if you don't have a lot of experience with Photoshop. Fortunately, there are several automatic adjustment tools you can use to improve your images. In the original image below, the snow has a blueish tint. After using the Auto Color command, the snow looks white.
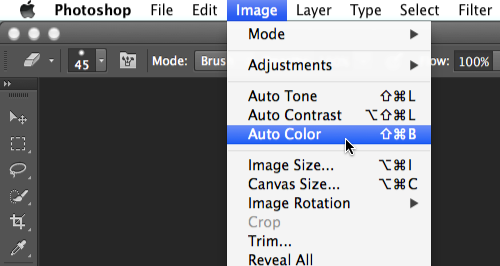
You'll find a few auto-correction tools, including Auto Color, in the Image menu.
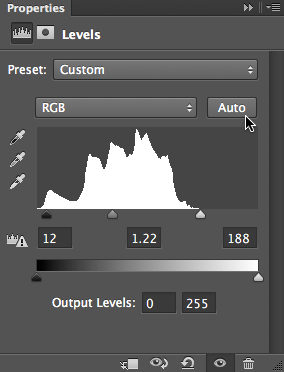
Many adjustment layers also have their own automatic adjustment option. To use this tool, create an adjustment layer, then click the Auto button in the Properties panel (if available).
Most of the time, these tools will improve the overall look of an image. However, you can always manually adjust an image afterward to get the image to look exactly the way you want. If the auto-correction goes too far, you could also try reducing the opacity of the adjustment layer to 50% to make the effect more subtle.
Open the dog_fullsize.jpg example file, add a Levels adjustment layer, and use the Auto Color command in the Image menu.
If you want to practice making the adjustments we cover in this lesson, you can download some or all of our example images. Just click any of the images below to open a full-sized version, then right-click the full-sized version and select Save Image As to save it to your computer.
/en/photoshopbasics/sharpening-and-noise-reduction/content/