Access 2003 -
Viewing and Adding Table Records

Access 2003
Viewing and Adding Table Records


/en/access2003/opening-a-table-and-learning-to-navigate-records/content/
Each record in a table is represented by a row. Field names are represented as columns in the table. To add a new record, navigate to the last row in the table—it's a blank row—or click the New Record button in the status area. Then input the requested information into each field in the new record. In this lesson, you will add a new record to the Contact table.

 Saving your work: Information in a table is saved automatically when the mouse, an arrow key, the Tab key, or the Enter key is used to move the cursor out of that row and into a different record.
 You can manually save data being entered for a record as you work your way across the different fields in the record—there are many fields in the record. Choose Records
 Save on the Standard toolbar to save data without moving the cursor out of the record's row.
Adjusting a column width in Access is similar to Microsoft Excel. By default, each column in Access is 15.6667 characters wide. Each individual column can be enlarged to 363 characters wide.
When entering records, you may need to resize columns to view the information as it is being typed. The width of an address column, for example, might be smaller than the actual address. You can adjust the column width of any field so it is wide enough to view the complete field entry.
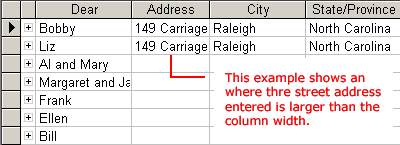

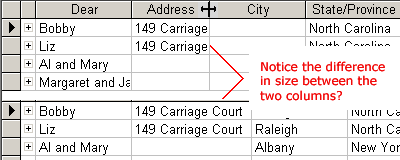
 Column Width on the Standard toolbar.
 To access AutoFit from the menu bar, choose Format
 Column Width, then check the Best Fit check box.
Each row in Access defaults to a height of 12.75 but can be enlarged to 1638. Changing the height of a row is similar to adjusting a column width, with two exceptions: a row height change applies to all rows in a table, and AutoFit is not available at the row level.
 Row Height on the Standard toolbar.
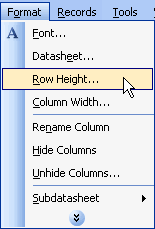
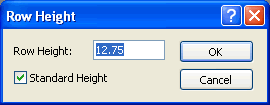
 Saving your work: If you changed the table layout, you will be prompted to save the changes when you exit Microsoft Access.

/en/access2003/editing-and-deleting-table-records/content/