Image Editing 101 -
Getting Started with Image Editing

Image Editing 101
Getting Started with Image Editing


Have you ever needed to edit an image on your computer but weren't quite sure how to get started? Perhaps you were asked to edit a picture for a company newsletter or blog article, or maybe you just wanted to touch up some vacation photos before sharing them with your friends. The truth is, almost any image can be improved with some slight editing.
While image editing might seem a bit complicated, you don't need to be a professional designer or photographer to learn how it works. Want proof? Take a look at the images below. We were able to make this photo look a lot better with a few simple adjustments, and they took less than five minutes to complete.
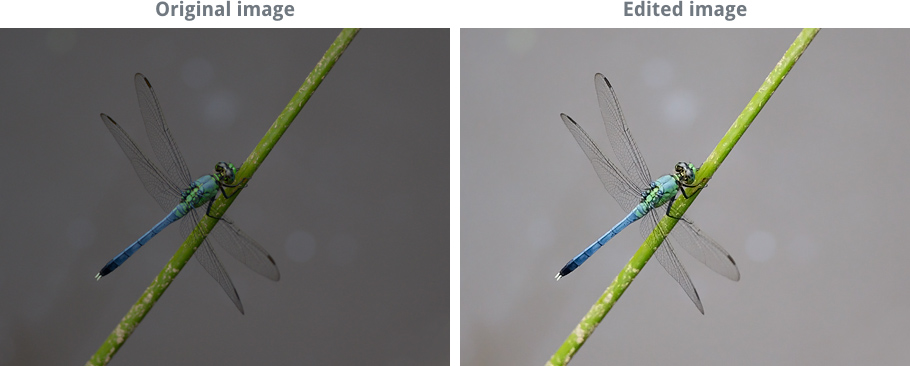
Whether you need to work with images at home or at the office, this tutorial will cover the basics you'll need to know to get started. You should be able to apply these techniques in almost any image editing software.
Once you know the fundamentals, you can review some of our other tutorials to learn more about using specific image editing applications.
We see digital image files every day in a wide range of places. Whenever you see a picture on a computer or smartphone, you're looking at a digital image file. When you take a picture with a digital camera, you're saving it as an image file. Even the images you see offline, like those in newspapers and magazines, probably started as digital image files before they were printed.
Have you ever thought about how image files actually work? Here are some of the basics.
Every digital photo is made up of pixels, often abbreviated as px. You can think of a pixel as a tiny square that uses a specific color. When you look at an image file on a computer, you're really looking at thousands and thousands of pixels. But because each pixel is so small, you normally won't notice each of them unless you zoom in.
![]()
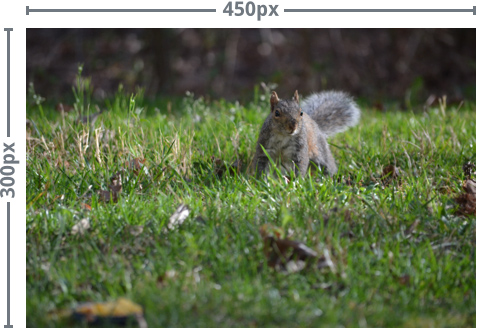
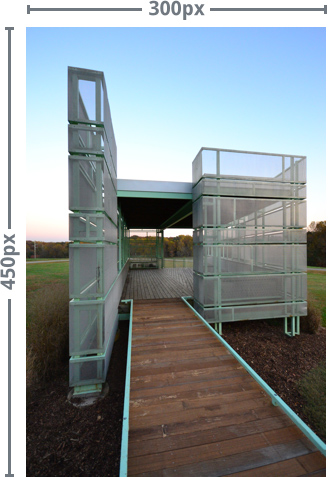
When you refer to the height and width of an image, you're talking about its dimensions. For example, if an image is 500 pixels wide and 200 pixels high, you could say that its dimensions are 500px by 200px (the width is usually listed first). Let's look at a few other examples.
The image below is 450px by 300px. Because this image is wider than it is tall, it's using a landscape orientation.
The image below is 300px by 450px. Because this image is taller than it is wide, it's using a portrait orientation.
You can think of an image's resolution as the amount of detail contained in the image. The higher the resolution, the more quality the image will have. Resolution is especially important if you're thinking of printing or resizing an image. This is because you can generally make an image smaller without noticing much of a difference in the quality. However, making an image larger than its original size will usually result in a noticeable loss in quality.
In the example below, the smaller version still looks sharp and clear.
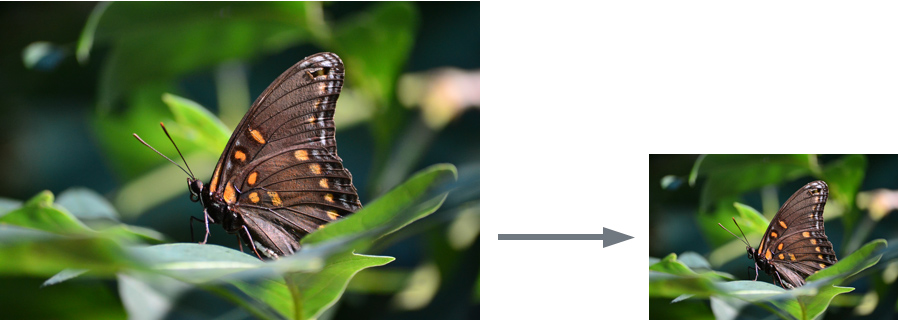
If you try to make a low-resolution image any larger, it simply won't have enough detail to look good at the new size. As you can see in the example below, the resized image is blurry and doesn't have a lot of detail. You might also notice that some parts of the image look blocky, or pixelated.
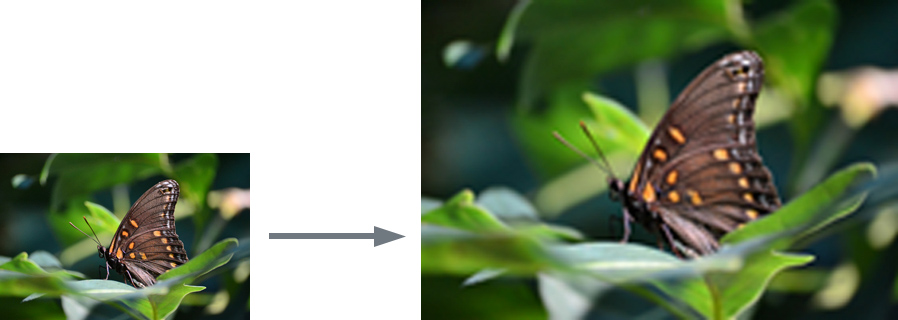
There are several file formats used with images. It's important to understand the basics of image file formats, along with the most common ones you'll see when working with images.
Digital image files can be very large and take up a lot of hard-drive space. Because of this, many file formats use compression to reduce the file size. There are two main types of file compression:
Images that use lossy compression can be saved at different quality levels. The lower the quality, the smaller the file size. This is because lowering the quality also removes more information from the image. In the example below, you can see the same image saved at different quality levels.
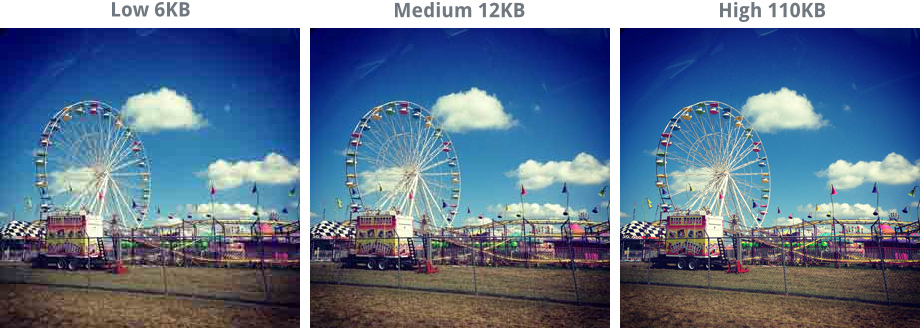
Drag the slider in the interactive below to adjust the compression quality. Remember, higher quality levels will also increase the file size. Try to find a setting that looks good while keeping the file size relatively small.
For best results, we recommend using the Chrome web browser with these interactives.
These are the most common file formats. We recommend using them most of the time:
There are several other image file formats you may encounter. One common image format is GIF. Pronounced gif or jif, the GIF file type was originally designed for graphics but is now most commonly used for simple animated images online. The image below is an animated GIF file.
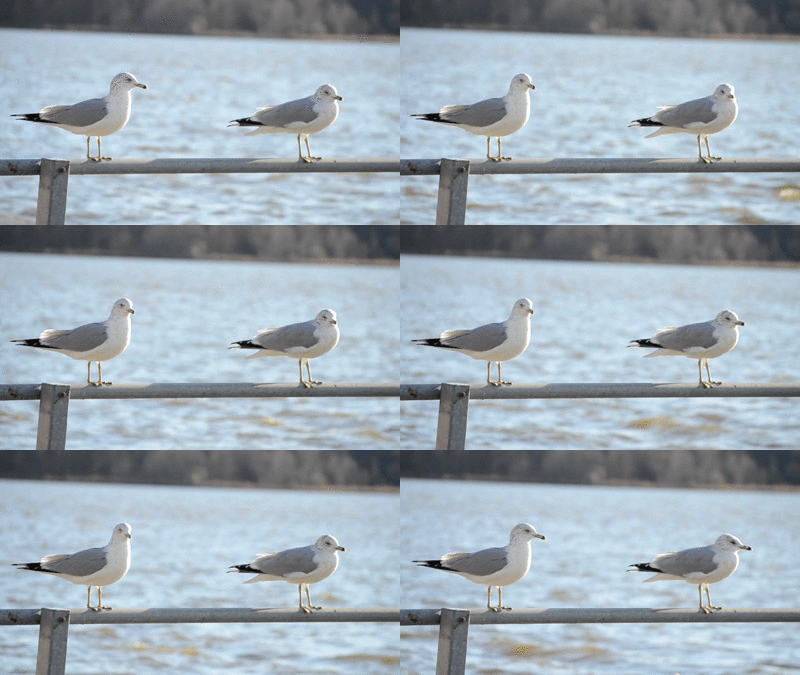
There are also some file formats that do not use compression, like RAW and BMP. Some digital cameras use a RAW format to save very high-quality images. Because these formats are uncompressed, the files tend to be much larger than JPEG and PNG files.
Whenever you edit an image file, there's a chance some of the original information from the image can be lost. Also, if you edit the same file over and over again, the edited image can begin to look much worse than the original. This is called image degradation, and it's especially problematic for files that use lossy compression, like JPEG images.
The good news is there's an easy way to avoid this problem. If you're planning on making even basic changes to an image, like cropping or resizing, you should also keep an original unedited version of the file. We recommend making a habit of doing this whenever you're working with image files. This way, you'll always be able to go back to the original version.
/en/imageediting101/image-editing-software/content/